
Genymotion free Archives

genymotion free Archives
Tag: download genymotion free

Download Genymotion v3.0.3 – FREE
Genymobile(FREE)
Genymotion is one of the latest and advanced operating system for mobile devices. Download Genymotion because it works well with
Click to openTOP DOWNLOADS
 SHAREit For PC… SHAREit For PC is a freeware application to transfer data, photos, videos, music, documents between devices from PC…
 NaturalReader v16.1.2… The software is able to read any text in a natural, loud, clear, human-like voice. NaturalReader supports all text files such…
 StopUpdates10 v3.1.101… StopUpdates10 makes it easy for you to allow or block Windows 10 updates anytime. This app is perfectly timed for…
 TOAD for Oracle… Toad for Oracle is a database development and management toolset that reduces the time and effort developers and DBAs…
 ApowerRescue v1.0.6… ApowerRescue - Recover Lost Data from iPhone / iPad Instantly. The files stored on your iPhone and iPad can be…
 PolyBoard for Windows… PolyBoard is an interactive cabinet design and manufacturing software based on a powerful methological concept (BOOLE & PARTNERS exclusivity). PolyBoard…
 Winrar free download… This winrar is for both 32bit and 64bit, download winrar for free.
 ApowerMirror v1.4.6.3… ApowerMirror is a cross-platform application for screen mirroring and works very well with Windows and Mac. All android…
 Faststone image viewer… Faststone Image Viewer is an application that is all in one you an image browser, converter and also…
 vMix for Windows… vMix is an advanced Video Mixer which provides the best video mixing experience, which was not that much…
CONNECT WITH US
How to Install Genymotion Android Emulator on Ubuntu
In this article, I am going to show you how to install Genymotion Android Emulator on Ubuntu 18.04 LTS. So, let’s get started.
Installing VirtualBox:
Genymotion uses VirtualBox to run the Android emulator on your computer. So, you must have hardware virtualization (VT-d/VT-x/AMD-v) enabled in your BIOS and VirtualBox installed in order to use Genymotion.
VirtualBox is available in the official package repository of Ubuntu 18.04 LTS. So, you can easily install it using the APT package manager.
First, update the APT package manager cache as follows:
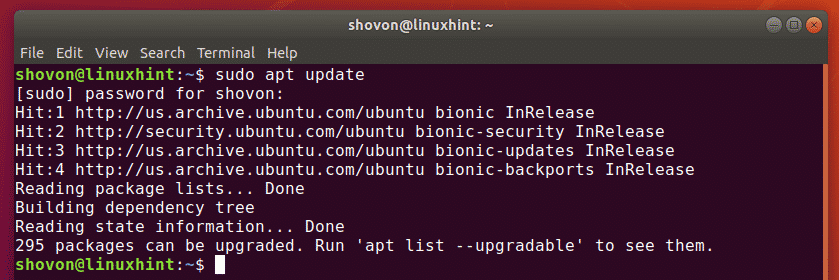
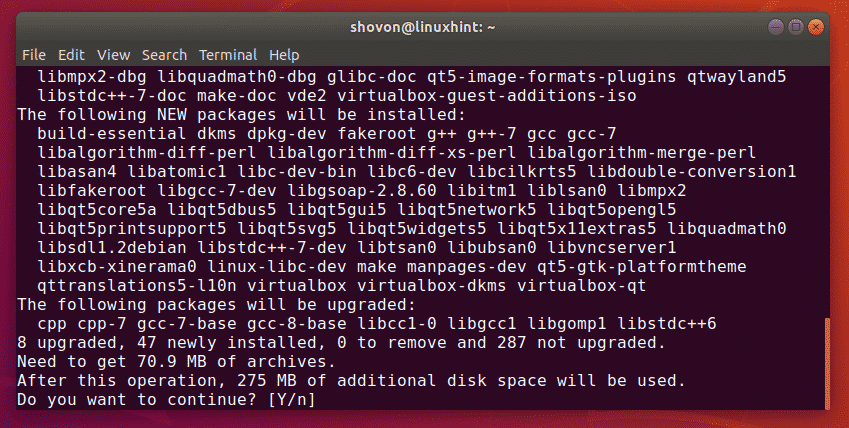
Now, install VirtualBox with the following command:

Now, press y and then press <Enter> to confirm the installation.
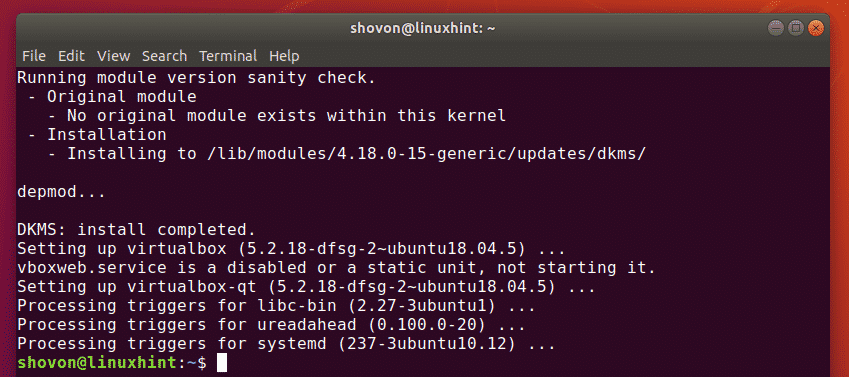
VirtualBox should be installed.
Downloading Genymotion:
Genymotion is not available in the official package repository of Ubuntu 18.04 LTS. But, you can easily download Genymotion from the official website of Genymotion and install it on your Ubuntu 18.04 LTS machine.
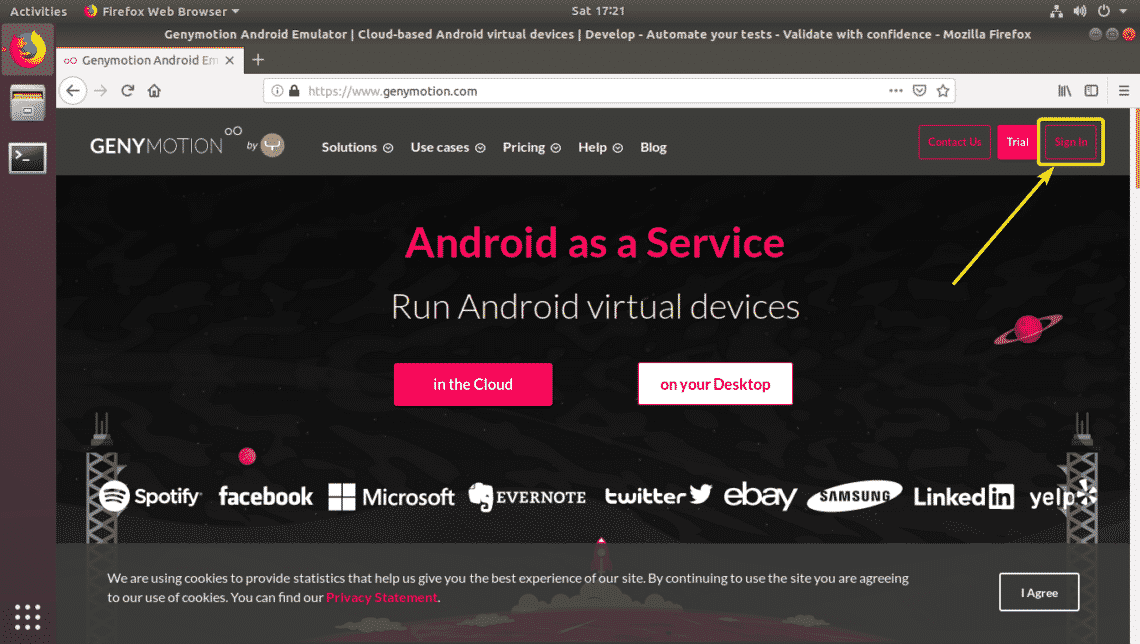
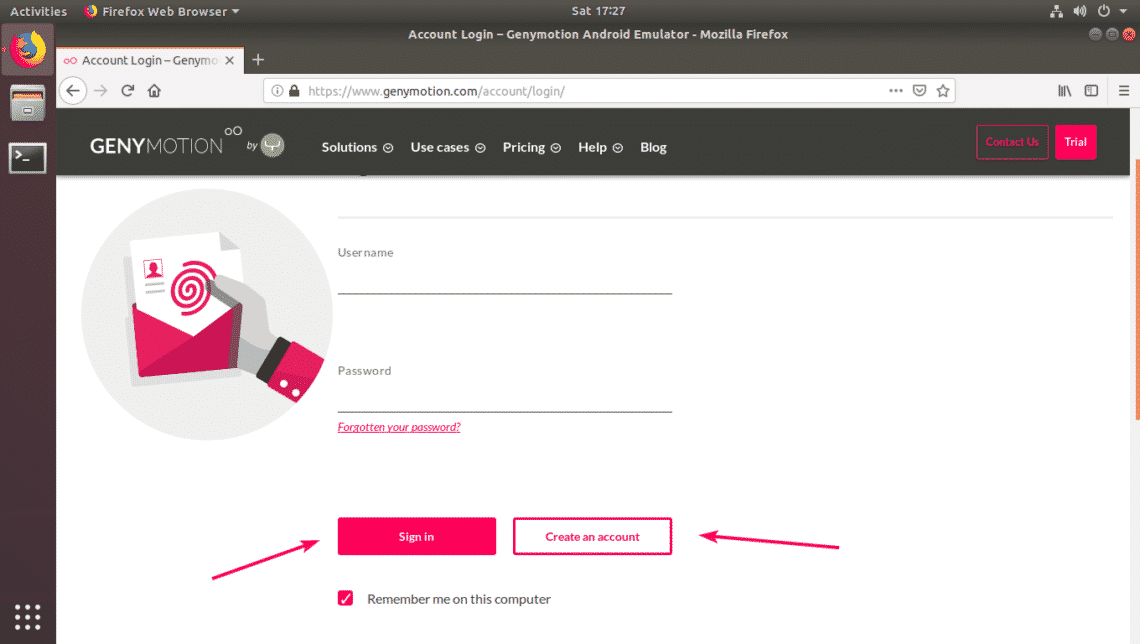
First, go to the official website of Genymotion at https://www.genymotion.com from your favorite web browser and click on Sign In.
If you have a Genymotion account, just Sign In with your account. If you don’t have one, just click on Create an account, create a new Genymotion account and sign in.
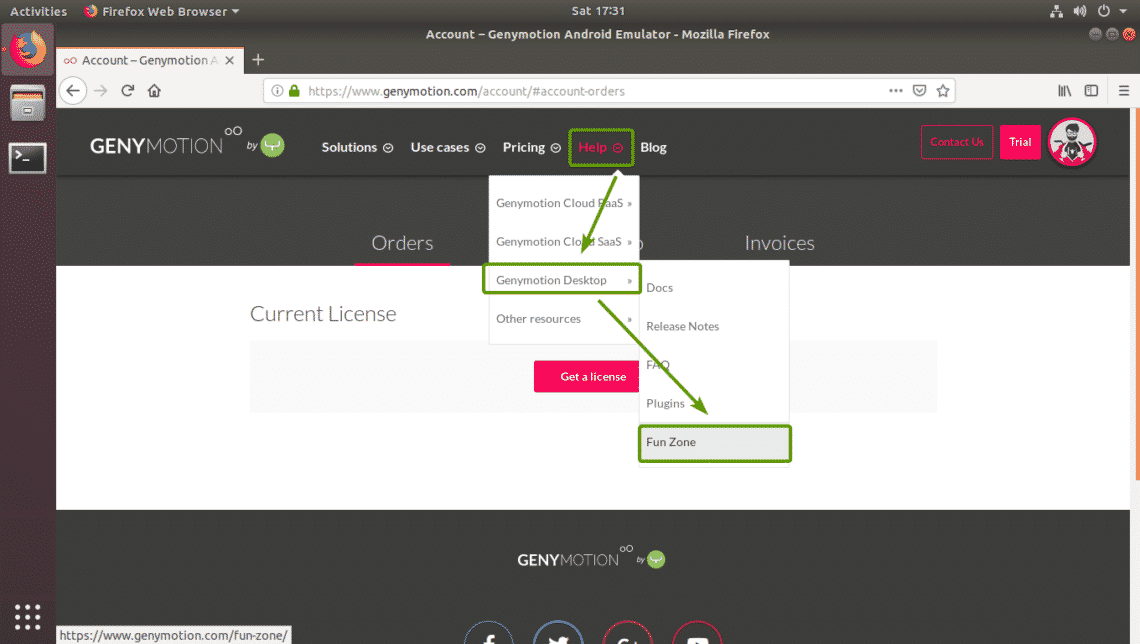
Once you’re logged in, go to Help > Genymotion Desktop > Fun Zone as marked in the screenshot below.
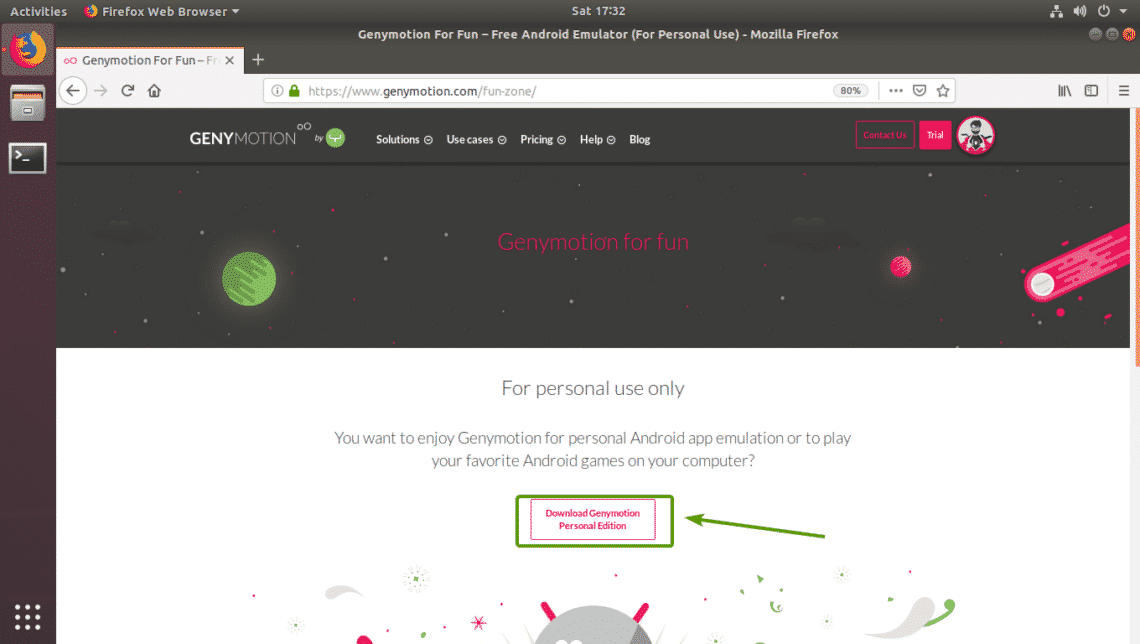
Now, click on Download Genymotion Personal Edition button as marked in the screenshot below.
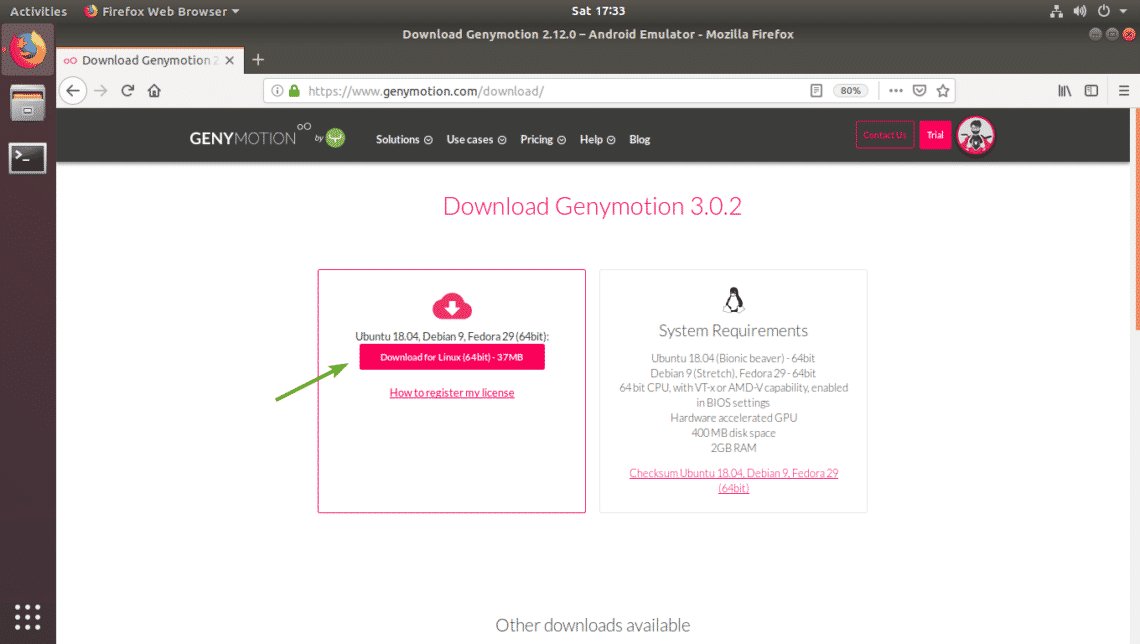
Now, click on Download for Linux (64-bit) button as marked in the screenshot below.
Your browser should prompt you to save the Genymotion installer file. Click on Save File to save it.
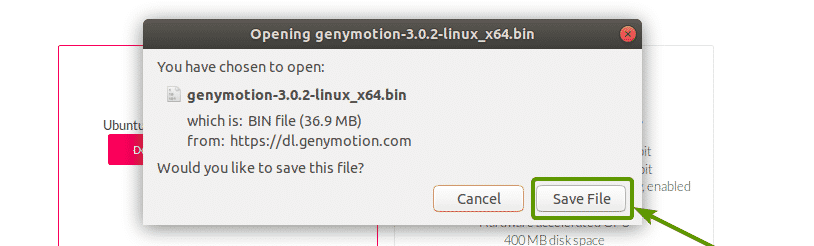
Your browser should start downloading Genymotion installer.

Install Genymotion:
Once Genymotion installer is downloaded, you should be able to find it in the ~/Downloads/ directory.

Now, make the installer executable with the following command:

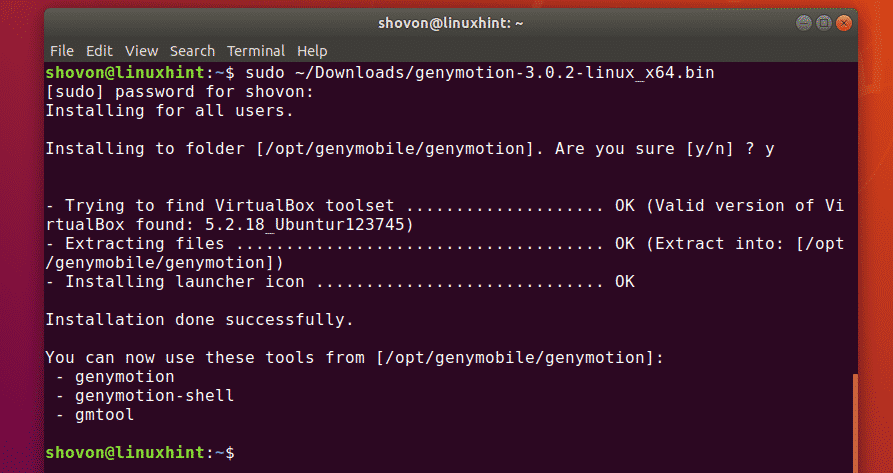
Now, run the Genymotion installer with the following command:

Now, press y and then press <Enter> to continue.

Genymotion should be installed.
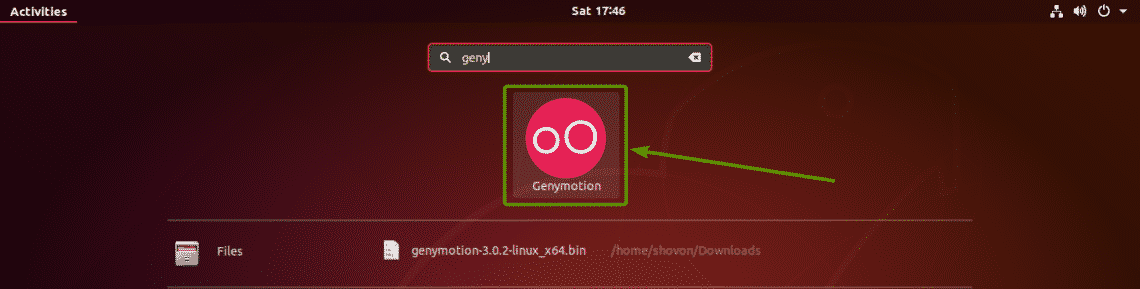
Running Genymotion:
Now, you can find Genymotion in the Application Menu of Ubuntu 18.04 LTS.
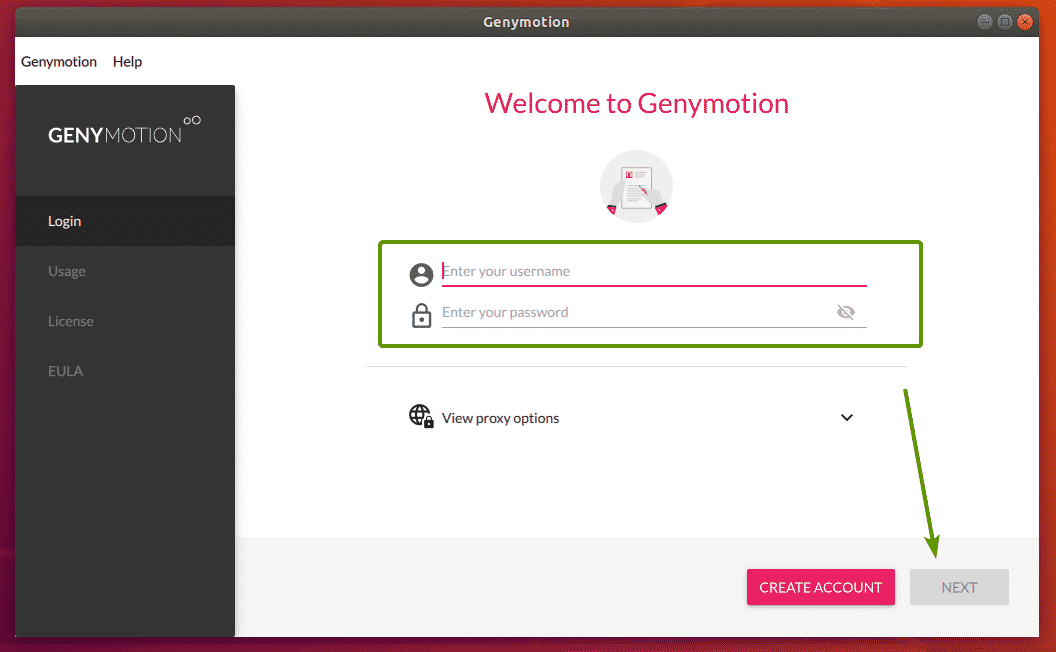
Now, type in your Genymotion login information and click on NEXT.
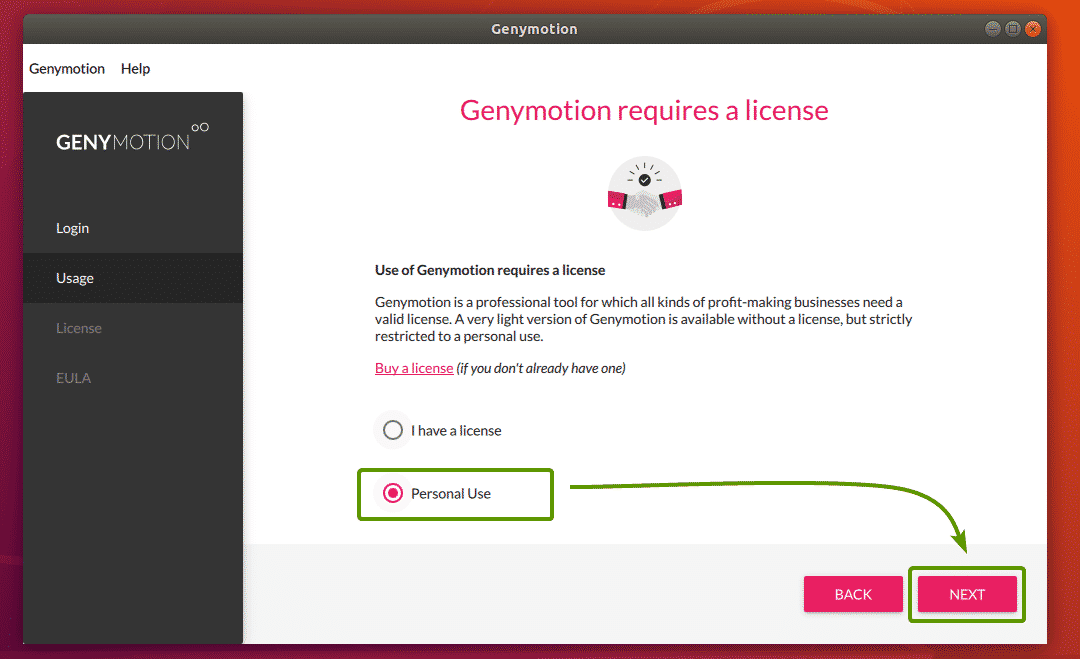
Now, select Personal Use and click on NEXT.
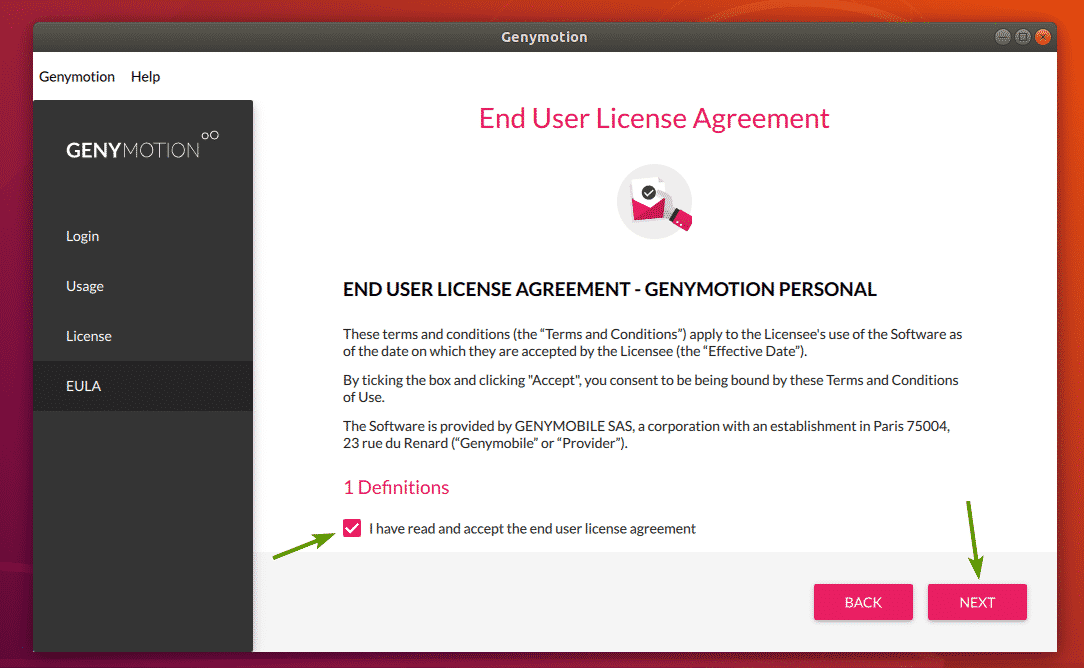
Now, check I have read and accept the end user license agreement and click on NEXT.
Genymotion should start.
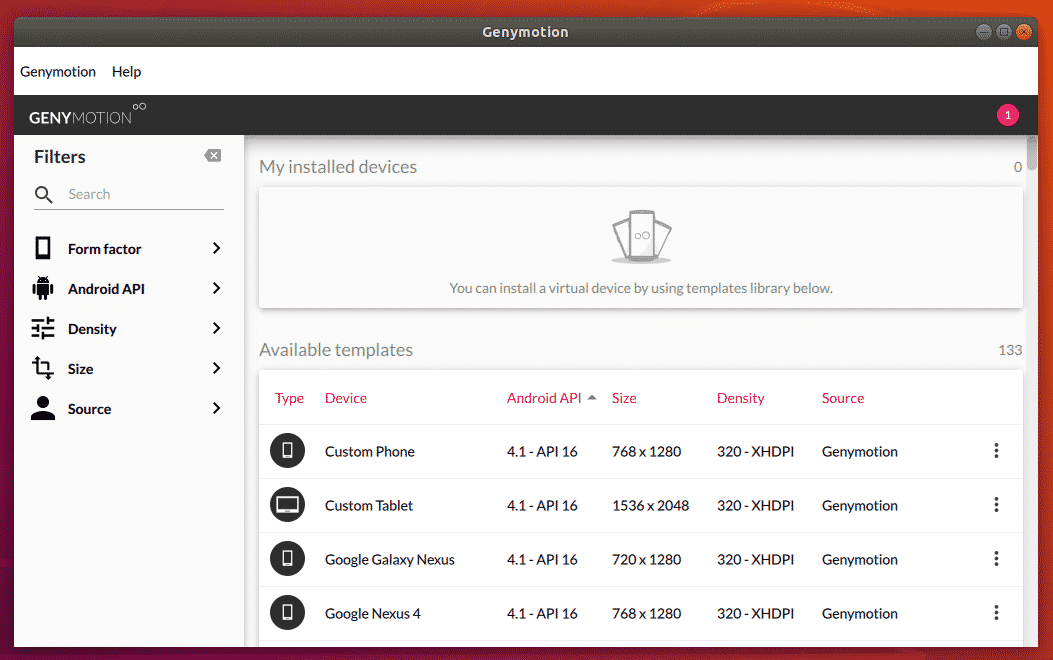
Creating Genymotion Android Virtual Devices:
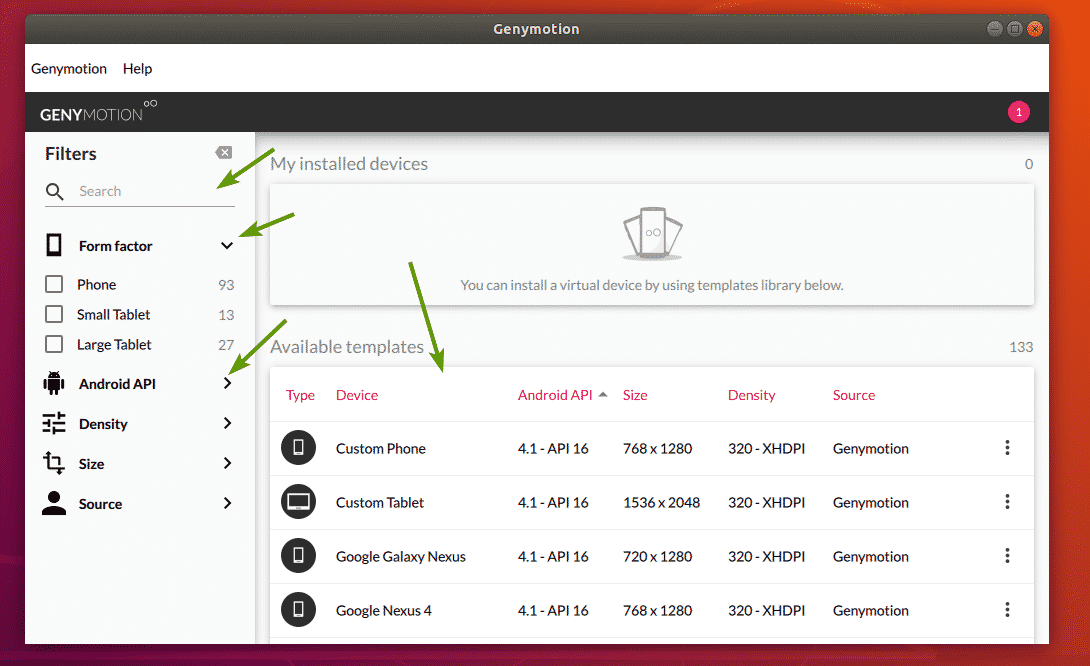
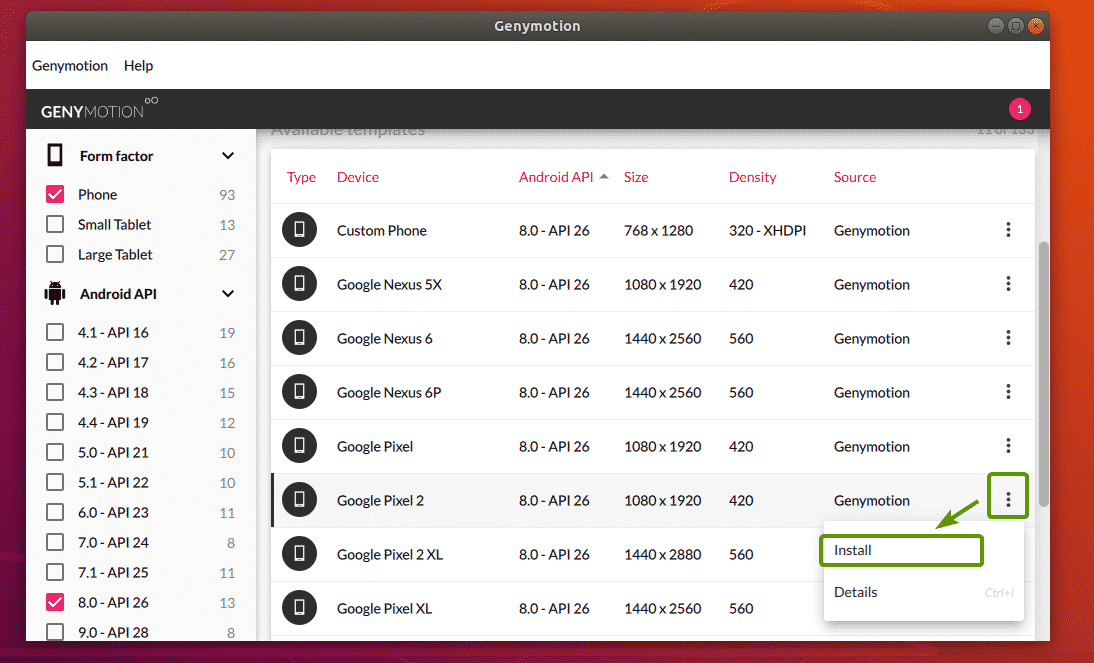
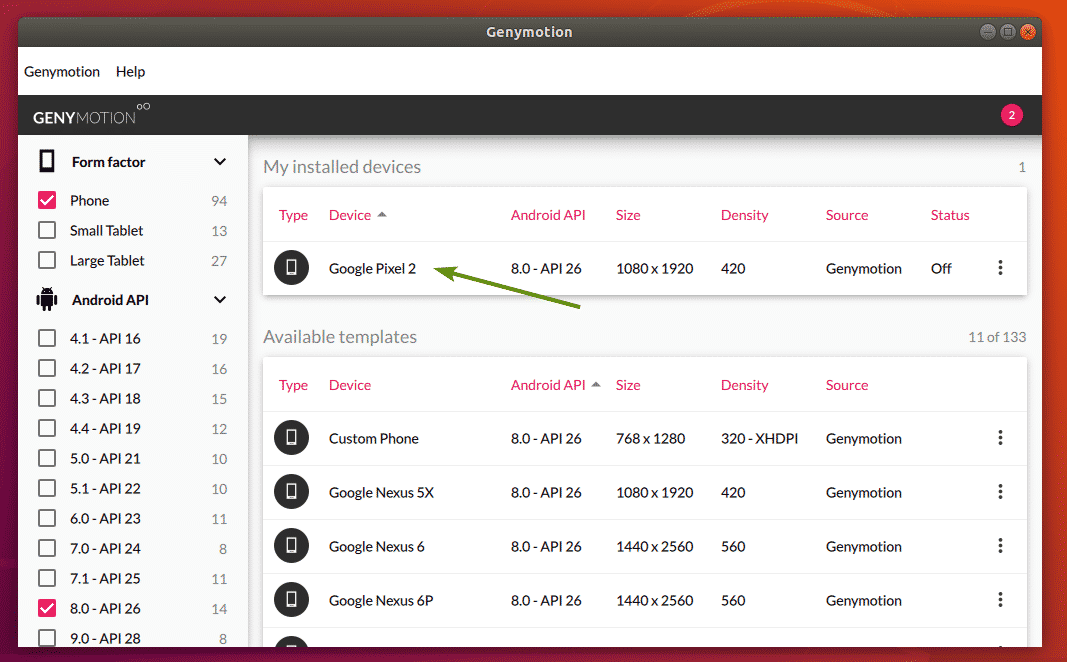
Genymotion has a lot of available Android virtual device templates to choose from. You can search for templates, filter them by the Form factor (Phone, Small Tablet, Large Tablet), Android API (Android 8, Android 9 etc), Density (screen pixel density) and Size (screen size/resolution).
Now, select a device that you like and click on the Menu icon and then click on Install.
Now, you can type in a name to your virtual device, select the display resolution and pixel density from some predefined ones, or set a custom display resolution and pixel density. If you want to start the virtual device in full screen mode, then check Start in full-screen mode checkbox.
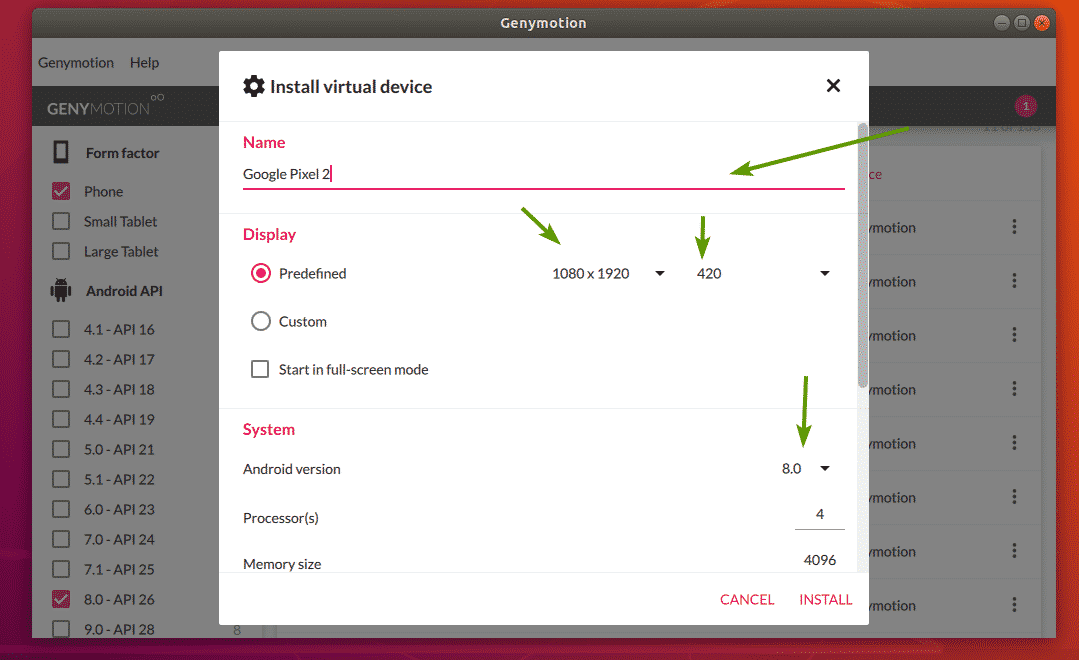
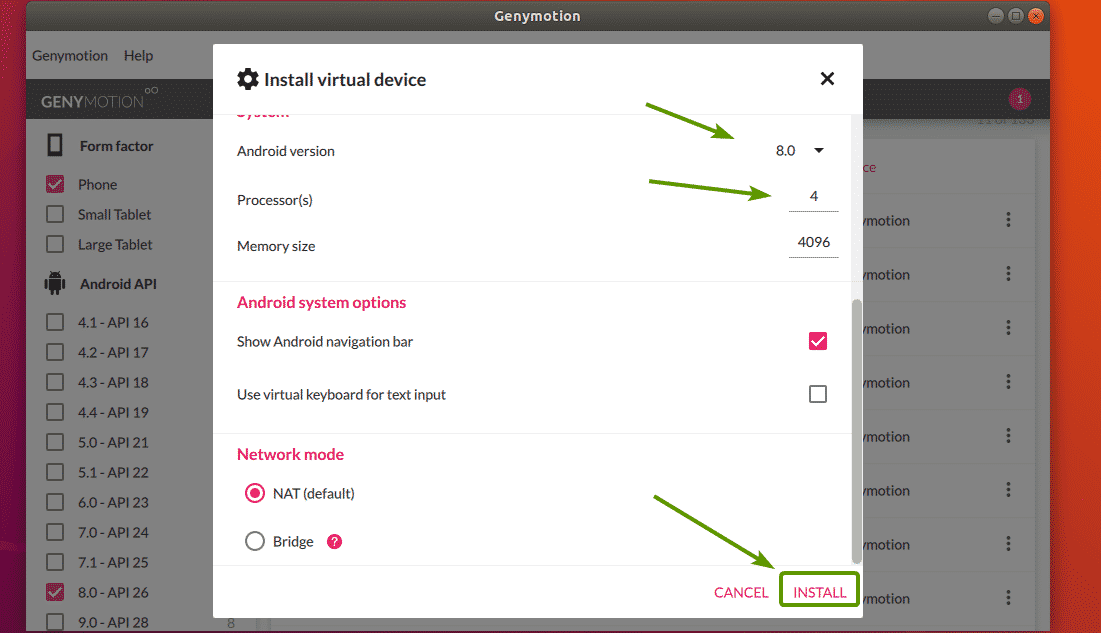
You can also select the Android version you want, select the number of processor core to assign to the virtual device, set the memory size etc. Once you’re done, click on INSTALL.
Genymotion should start downloading the required files to create the virtual device.
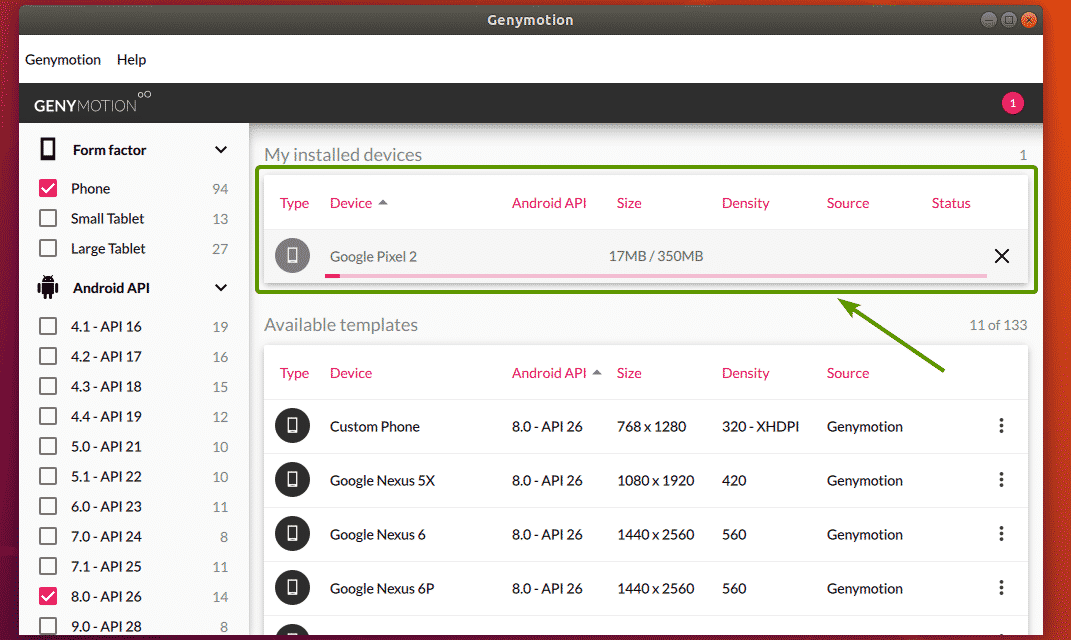
Once the virtual device is ready, it should be listed in My installed devices section.
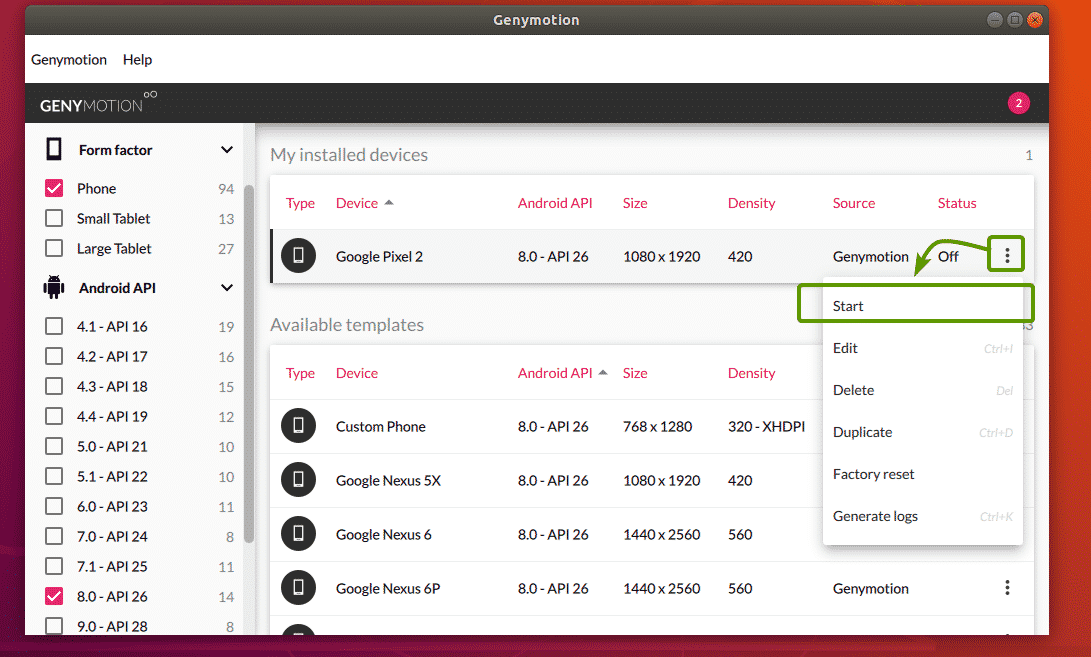
Now, to start the virtual device, click on the Menu icon and click on Start.
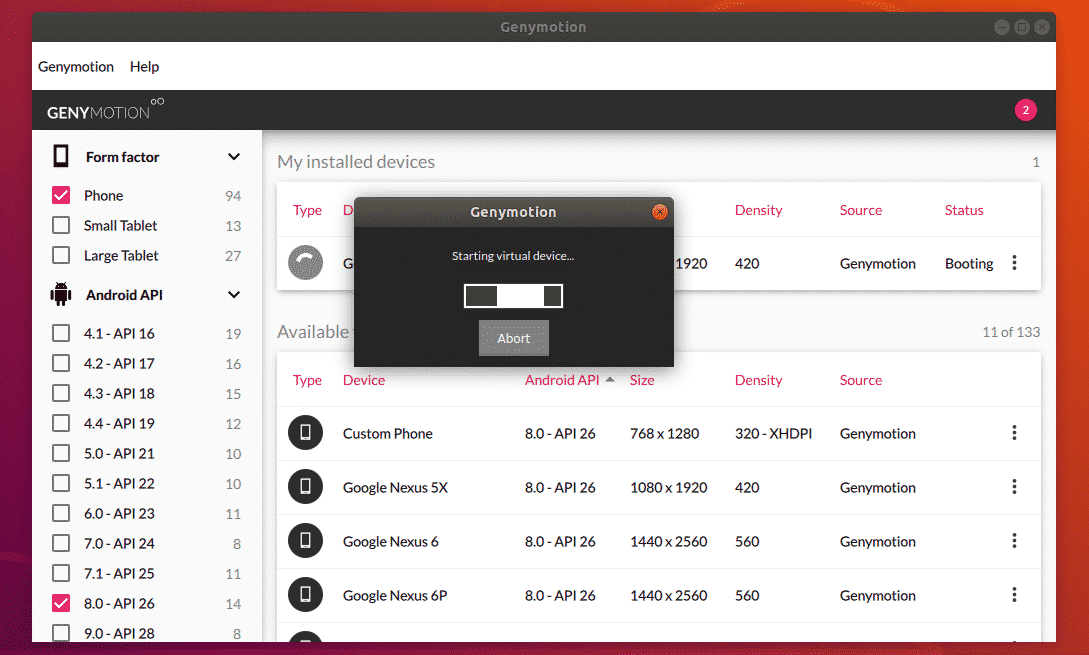
As you can see, Genymotion is starting the virtual device.
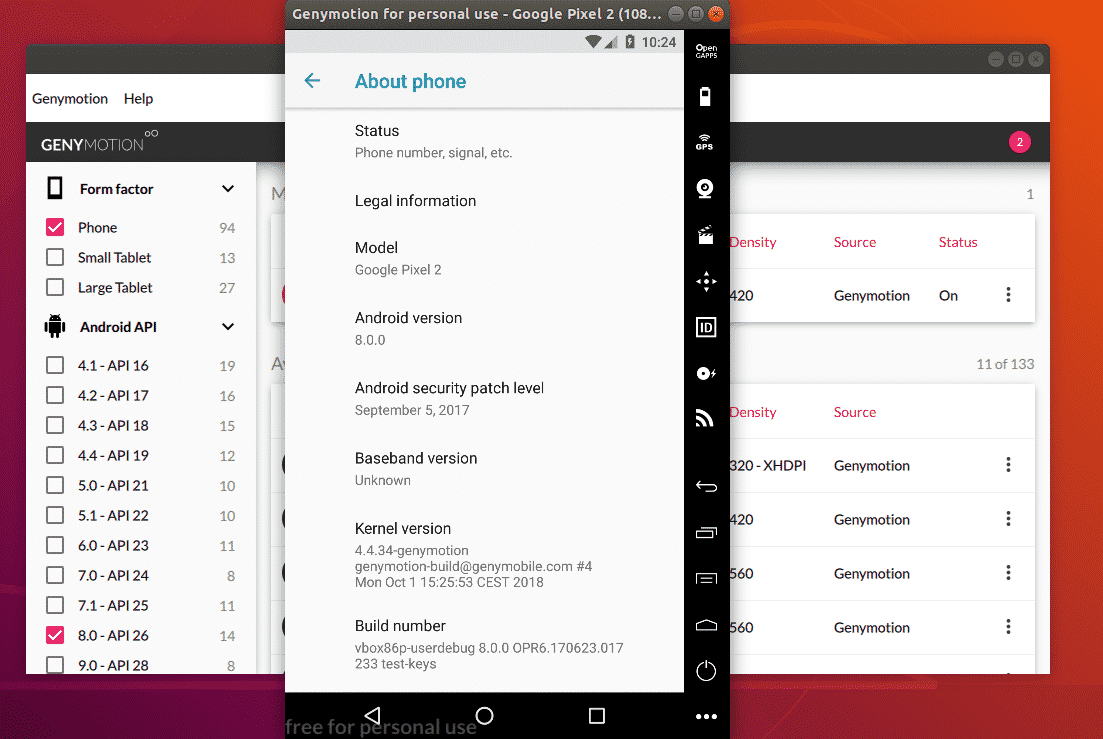
After a while, an Android virtual device should be started. Now, you can install android apps on it, run your favorite games and many more on this virtual device.4
You can create as many Android virtual devices as you want using Genymotion.
So, that’s how you install Genymotion Android emulator on Ubuntu 18.04 LTS. Thanks for reading this article.
Troubleshooting and known issues for Android Emulator and system images
This page lists known issues, workarounds, and troubleshooting tips for the Android Emulator.
If you encounter an issue not listed here or are unable to successfully use a workaround listed here, please report a bug.
Checking for adequate disk space
To avoid crashes and hangs caused by not having enough free disk space, the emulator checks for sufficient free disk space on startup, and will not start unless at least 2 GB is free. If the emulator fails to start for you, check to see that you have adequate free disk space.
Antivirus software
Because many security and antivirus software packages work by monitoring every read and write operation, use of such software can decrease performance of tools like the Android Emulator.
Many antivirus packages provide the ability to add specific applications to a list of trusted applications, which enables these applications to operate without performance degradation. If you are experiencing poor performance with saving or loading of AVD snapshots, you may improve this performance by adding the Android Emulator application as a trusted application in your antivirus software.
The performance impact differs between various antivirus software packages. If you have additional antivirus software installed beyond that which is included with your operating system, you can run simple tests to determine which antivirus software has a greater performance effect on emulator load and save operations.
Some antivirus software may be incompatible with the Android Emulator.
If you're using Avast software and are having trouble running the Android Emulator, try disabling Use nested virtualization when available and Enable Hardware assisted virtualization in the Avast Troubleshooting settings. In addition, after Avast hardware virtualization is disabled, ensure that HAXM is set up properly again with a full re-installation of the latest HAXM from the SDK Manager.
HAXM on older, unsupported versions of Mac OS
If you are using Android Emulator on older, unsupported versions of Mac OS X (such as 10.9), then you may need to use an older version of HAXM (6.1.2), too.
Android Emulator runs slowly after an update
A number of external factors can cause the Android Emulator to begin running slowly after an update. To begin troubleshooting, we recommend the following steps:
- If you are running Android Emulator on Windows, check to see if you have installed Windows Updates KB4013429 and KB4015217. Some users reported improved Android Emulator performance after uninstalling these updates. Users also reported improved Emulator performance after installing Windows Update KB4015438.
- If you have an Intel GPU (and in particular, the Intel HD 4000), ensure you have downloaded and installed the latest Intel graphics driver.
- If your machine has both an Intel HD 4000 GPU and a discrete GPU, disable the Intel HD 4000 GPU in Device Manager to ensure you are using the discrete GPU.
- Try running the emulator using the , , or modes. For more information about configuring graphics acceleration options on the command line, see Configure hardware acceleration.
- Ensure that your router is not using IPv6 addresses if you do not have an IPv6 connection.
If you are still experiencing problems with the Android Emulator running slowly, Report a bug, including the necessary Android Emulator Details so we can investigate.
Windows: Free RAM and commit charge
When the emulator starts, it needs to initialize the Android guest operating system's RAM. On Windows, the emulator asks Windows to account for the full size of guest memory at start time, even though during actual operation, the memory may be paged in on demand. The emulator requests the full amount of guest memory at start time because Windows is conservative in ensuring that there is enough physical RAM and pagefile available to hold the entire potential working set; this prepares for the worst case, in which all guest memory is touched quickly, without any opportunity to discard or otherwise free memory.
Sometimes, when the emulator asks Windows to account for this full guest memory size, the request exceeds the current commit limit, which is the total of the available physical RAM and pagefile. In this case, Windows can't guarantee that the worst-case working set will fit in either physical RAM or pagefile, and the emulator fails to start.
In typical cases, the amount of hard drive space allocated for the pagefile plus physical RAM is more than enough for most use cases of the emulator. However, if you experience failures to start the emulator because of exceeding the commit limit, we recommend examining the current commit charge, which can be seen in the Performance tab in the Windows Task Manager. (To open the Task Manager, press Ctrl+Shift+Esc.)
You can lower the likelihood of exceeding the commit limit in various ways:
- Free physical RAM before launching the emulator by closing unused applications and files.
- Disable third-party memory management and memory compression utilities. These utilities can inefficiently cause an excess commit charge and bring your system closer to the commit limit.
Use a system managed size for the Windows pagefile, which can more flexibly and dynamically increase the pagefile size (and therefore the commit limit) in response to increased demand from the emulator and other applications.
For more information on commit charges and why a flexible setting works best, see this Microsoft article.
What’s New in the genymotion free Archives?
Screen Shot

System Requirements for Genymotion free Archives
- First, download the Genymotion free Archives
-
You can download its setup from given links:

genymotion free Archives & Software

genymotion free Archives& Free Download
